Volumes
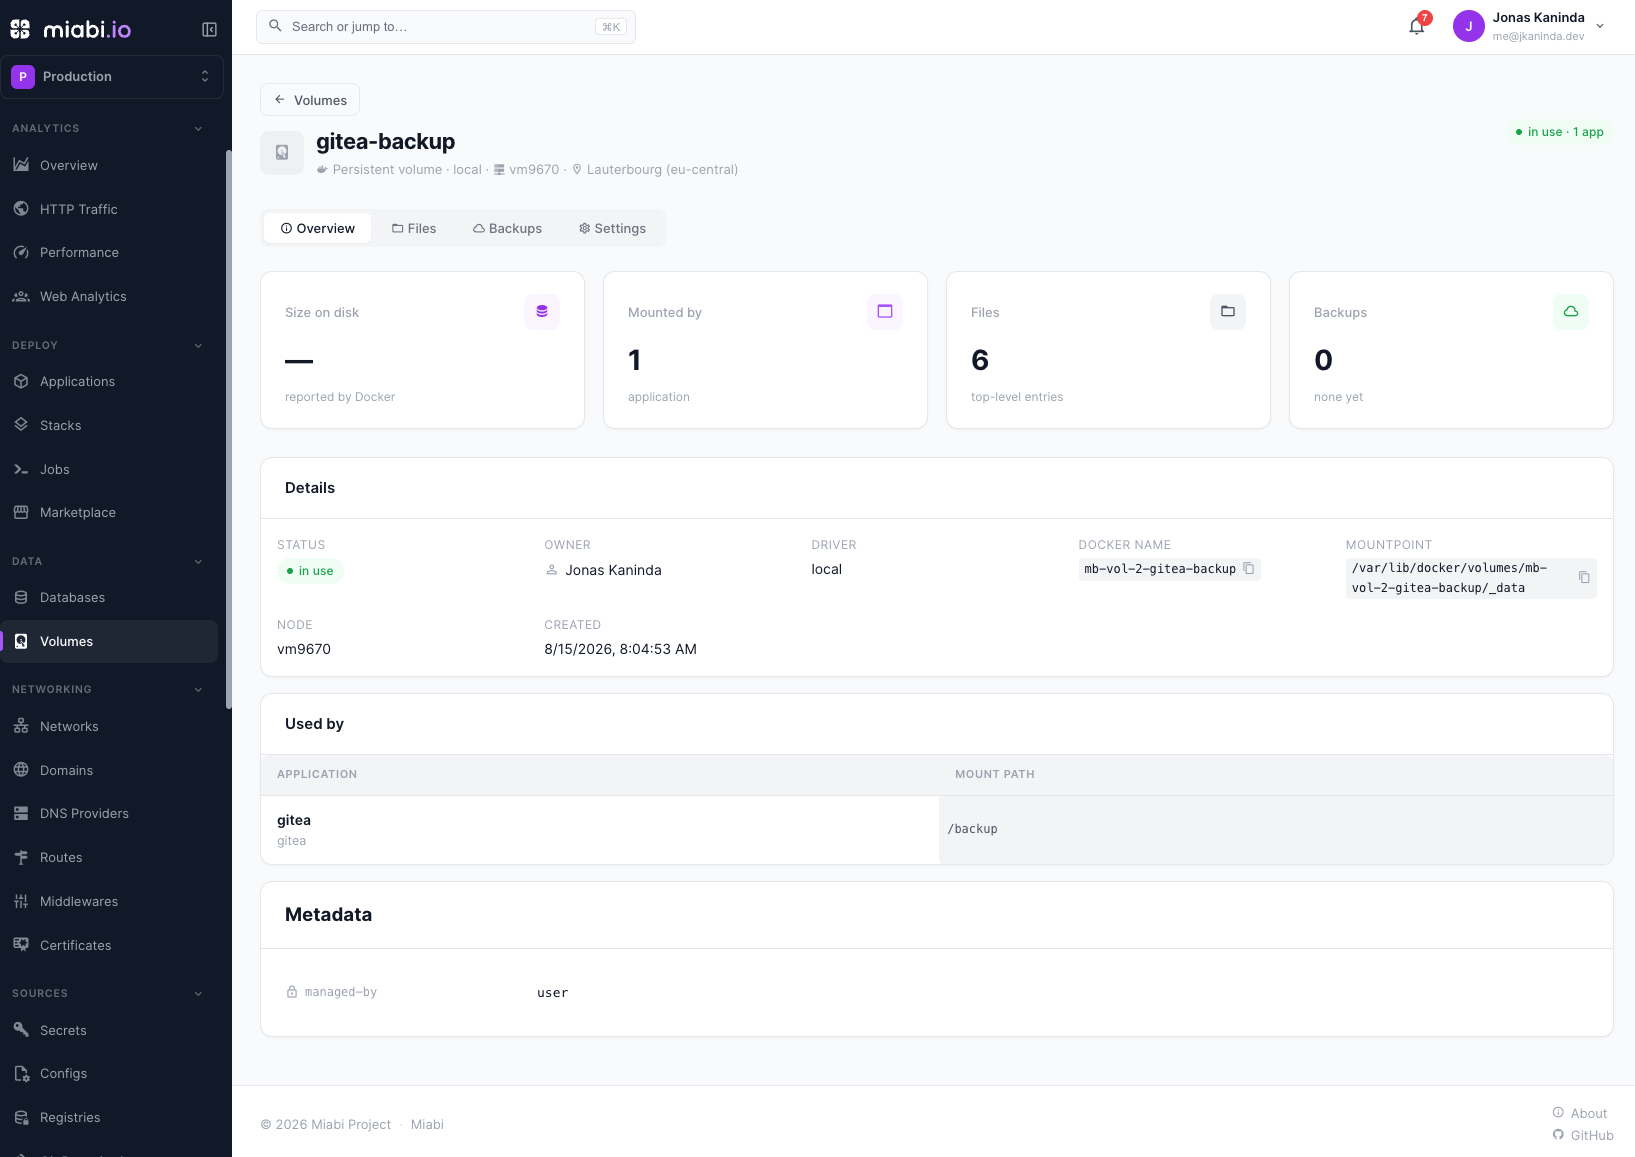
Volumes give your applications persistent storage that survives container restarts, redeploys, and image updates. A volume is a Docker volume owned by a workspace; every volume belongs to exactly one workspace and can only be mounted by applications in that workspace.
Why volumes
Containers are ephemeral — anything written inside a container's writable layer is lost when the container is recreated (which happens on every deploy). Volumes solve this: data written to a mounted volume path lives independently of the container and is reattached to each new release.
Use a volume whenever an app needs to keep data between deployments, for example:
- Uploaded files and user media
- SQLite / libSQL database files
- Application caches you want to warm once and reuse
- Generated assets, search indexes, or content stores
Creating a volume
- Open your workspace and go to Data → Volumes.
- Select Create volume.
- Give it a clear, descriptive Name (for example
wordpress-uploads) and pick its Type (see below). - Optionally set a Size limit (MB), which counts against the plan's storage quota.
- If the workspace can deploy to more than one location, choose the Location. Private networks don't span locations, so keep a volume with the apps that use it.
- Confirm. The volume is provisioned immediately and ready to mount.
Name volumes after the data they hold, not the app — it keeps things readable when one app uses several volumes, or when you later reuse a volume.
Expanding a volume
A volume created with a size limit can grow. Open it, go to Settings → Capacity, enter the new size in MB and confirm. The capacity only goes up: it cannot be reduced afterwards, and the increase counts against the plan's storage quota. It is a declared number, so no data moves and the volume keeps running. Whether writes are actually capped at it depends on the node's storage backend.
The volume's Overview shows its measured usage against that capacity. Usage is measured periodically, so a new volume reads not measured yet until the first sweep.
A volume created without a size limit has no capacity to expand.
Volume types & shared storage
When you create a volume you pick its type, which decides where the data lives and whether a replicated cluster app can share it across nodes:
| Type | Access | Backed by | Use for |
|---|---|---|---|
| Local (default) | Node-local (RWO) | A Docker volume on one node | Single-container / single-node apps |
| NFS | Shared (RWX) | An NFS export, via Docker's built-in driver | Storage shared by a replicated service across nodes |
| CIFS / SMB | Shared (RWX) | A CIFS/SMB share (credentials encrypted at rest) | The same, on Windows / NAS shares |
| Host path | Shared (RWX) | A bind to an operator-managed path under /mnt/* | A NAS you've mounted at the same path on every node |
- Local volumes live on one node. A replicated service is refused above one replica on a local volume (each node would otherwise get its own empty copy) — Miabi instead keeps such an app as a single node-pinned container.
- NFS / CIFS let Miabi mount a network share with no external plugin (it uses Docker's local driver with mount options). Provide the server + export (NFS) or share + credentials (CIFS); the swarm mounts the same share on every node a task lands on. Shared storage is a plan capability.
- Host path binds a directory you (the operator) have mounted at the same path on every
node — e.g. a NAS at
/mnt/nas/app. Nothing is stored in Miabi (no credentials), and a replicated service binds it on each node. The path must be under/mnt/, and creating one requires a privileged workspace.
For a replicated service, back it with a shared (RWX) volume or a cluster-wide host path — a plain local volume can't follow a task that Swarm reschedules onto another node.
Where a local volume's data lives
By default, on the disk the Docker engine keeps its own data on. If your operator has registered storage classes — one per disk on the server, say — the create form gains a Storage field listing the ones your plan allows, by name. You never supply a path: the class you pick decides the directory, and the platform derives the rest.
A volume's storage class is fixed once it is created; its data lives there.
Mounting a volume in an app
Volumes are attached to applications through a mount path — the directory inside the container where the volume's contents appear.
- Open the application and go to its Volumes tab.
- Under Attached volumes, choose a volume from the list. Only volumes on the app's own node are offered.
- Enter the Mount path inside the container, such as
/var/www/html/wp-contentor/data. - Select Attach, then redeploy the application so the new mount takes effect.
After redeploy, anything the app reads or writes under that path is backed by the persistent volume. See Applications overview for the full deploy lifecycle.
Choose the correct mount path for the software you run. Mounting over a directory that the image populates at build time can hide the image's files behind the (initially empty) volume.
To put an nginx.conf or a prometheus.yml into a container, use a
config instead. Configs are projected per file, so they can't shadow the
rest of the directory the way an empty volume does.
Browsing a volume's files
A volume's Files tab lists what is stored in it (name, size, modified time), with folders you can expand. From there you can:
- Download a single file.
- Upload file, optionally into a sub-directory (intermediate directories are created). This is a quick way to seed config or import data before the app first starts.
- Delete a file or a whole directory.
Browsing and downloading are open to every workspace member; uploading and deleting need edit permission. A listing stops at 5,000 entries.
Persistence and lifecycle
- Volumes persist across redeploys, container restarts, and image upgrades.
- Detaching a volume from an app does not delete the volume. Its data remains in the workspace until you explicitly delete the volume.
- Deleting a volume is permanent, and it is refused while an application still has the volume attached. The volume's Used by card lists them; detach it from each first.
When a volume's data goes missing
If the Docker volume behind a Miabi volume is deleted outside Miabi, or deleted and recreated empty, Docker would silently hand the next container a fresh, empty volume. Miabi checks for this instead:
- The volume page shows a missing badge when its Docker volume can't be found.
- A Data volume lost alert is raised for the app or database that depends on it.
- Miabi refuses to start on the lost data: an app's deploy, start or restart, and a database's start, restart or resize, stop with a volume holding this workload's data is gone; restore it from a backup first. Starting a database on an empty volume would initialize a brand-new, empty database over the one you lost.
Miabi does not recreate the volume or restore it for you; restoring is your decision. Recover from a backup. NFS, CIFS and host-path volumes are not checked, because their data lives on the storage backend rather than in the Docker volume. See Reconciliation for how Miabi observes and reports drift.
Backing up volume data
Volume contents can be captured as volume archives in the workspace's S3 backup target, from the volume's Backups tab. Archives run on demand only. See Backups.