Quick Start
This guide walks you through deploying your first application with Miabi — entirely from the web console, no Docker commands required.
1. Install Miabi
Follow the Installation guide to bring up the stack, then
open your domain and sign in as the platform admin, seeded on first boot from
MIABI_ADMIN_EMAIL / MIABI_ADMIN_PASSWORD (the installer generates that password and prints it
once).
2. Create a workspace
Workspaces own every resource and provide multi-tenant isolation. After logging in, create your first workspace (or use your personal space). Everything you deploy lives inside a workspace.
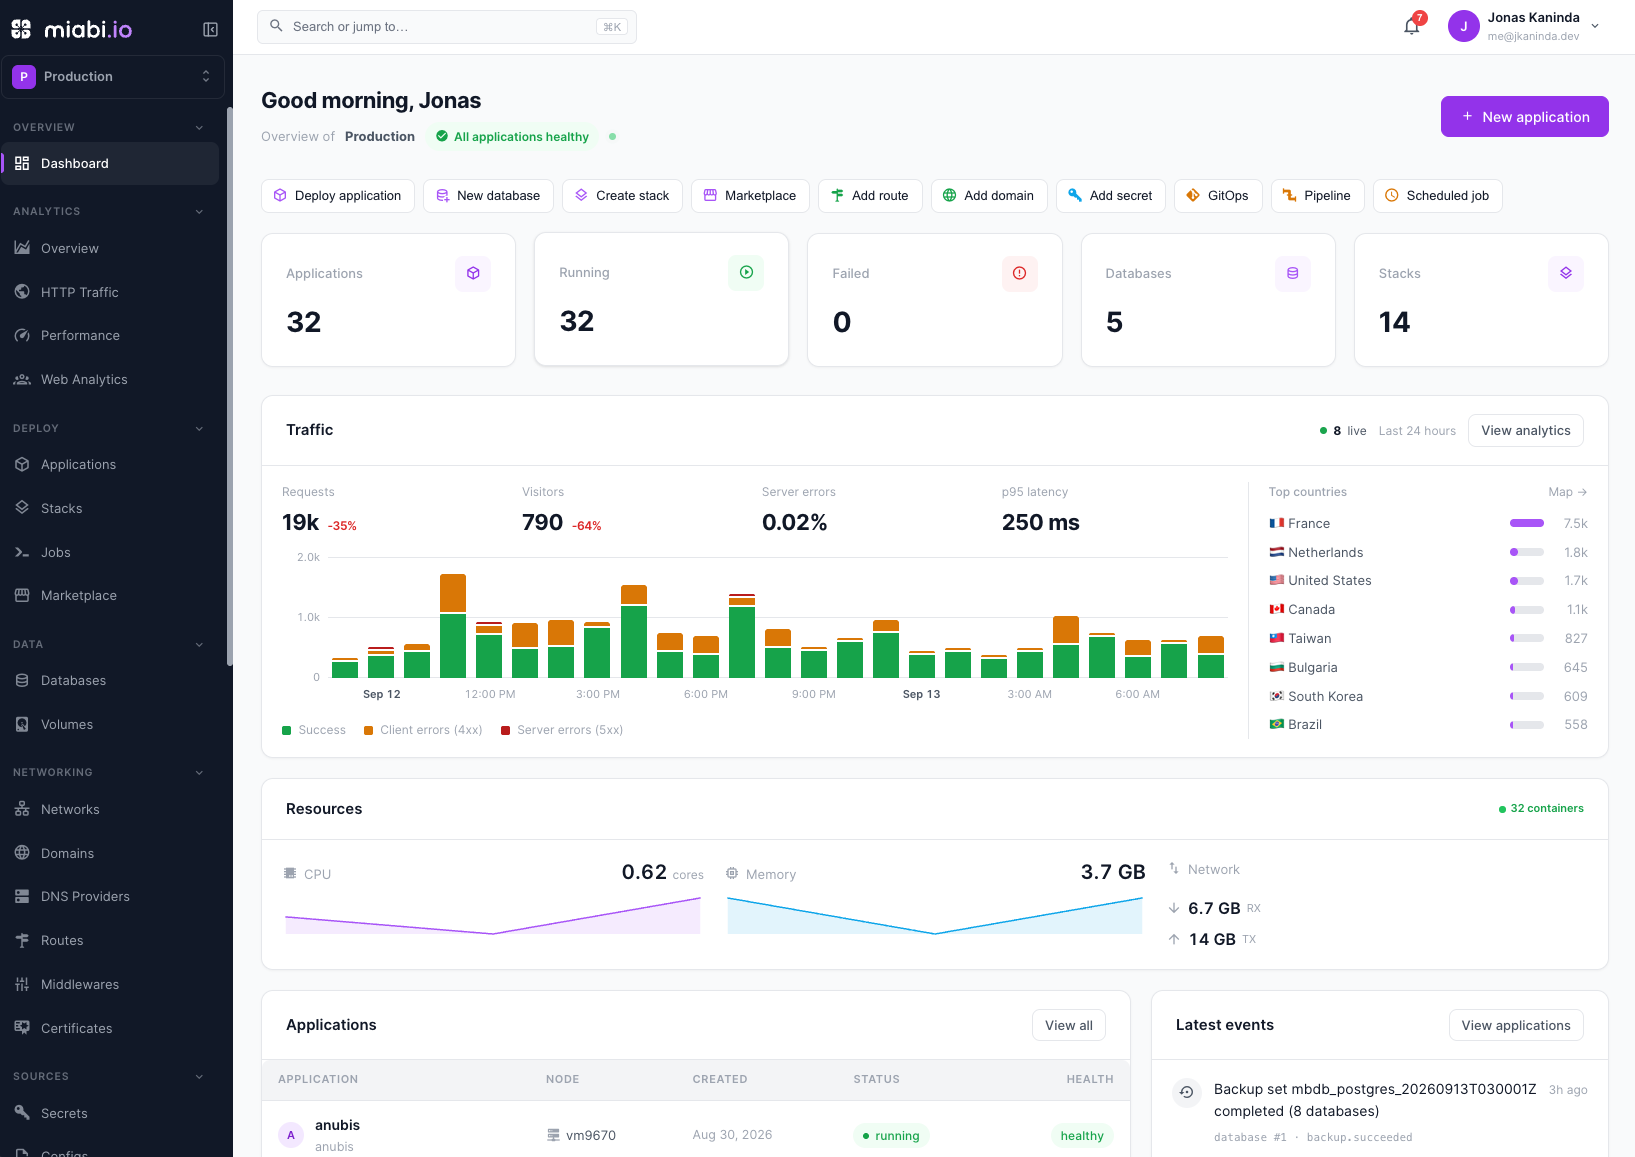
See Workspaces for the full model.
3. Create an application
From the workspace, click New application and choose a source:
- Git repository — Miabi builds your code on a build runner. See Deploy from Git.
- Docker image — Miabi pulls an existing image from a registry. See Deploy from Image.
For a pre-packaged app such as WordPress, install a template from the Marketplace instead.
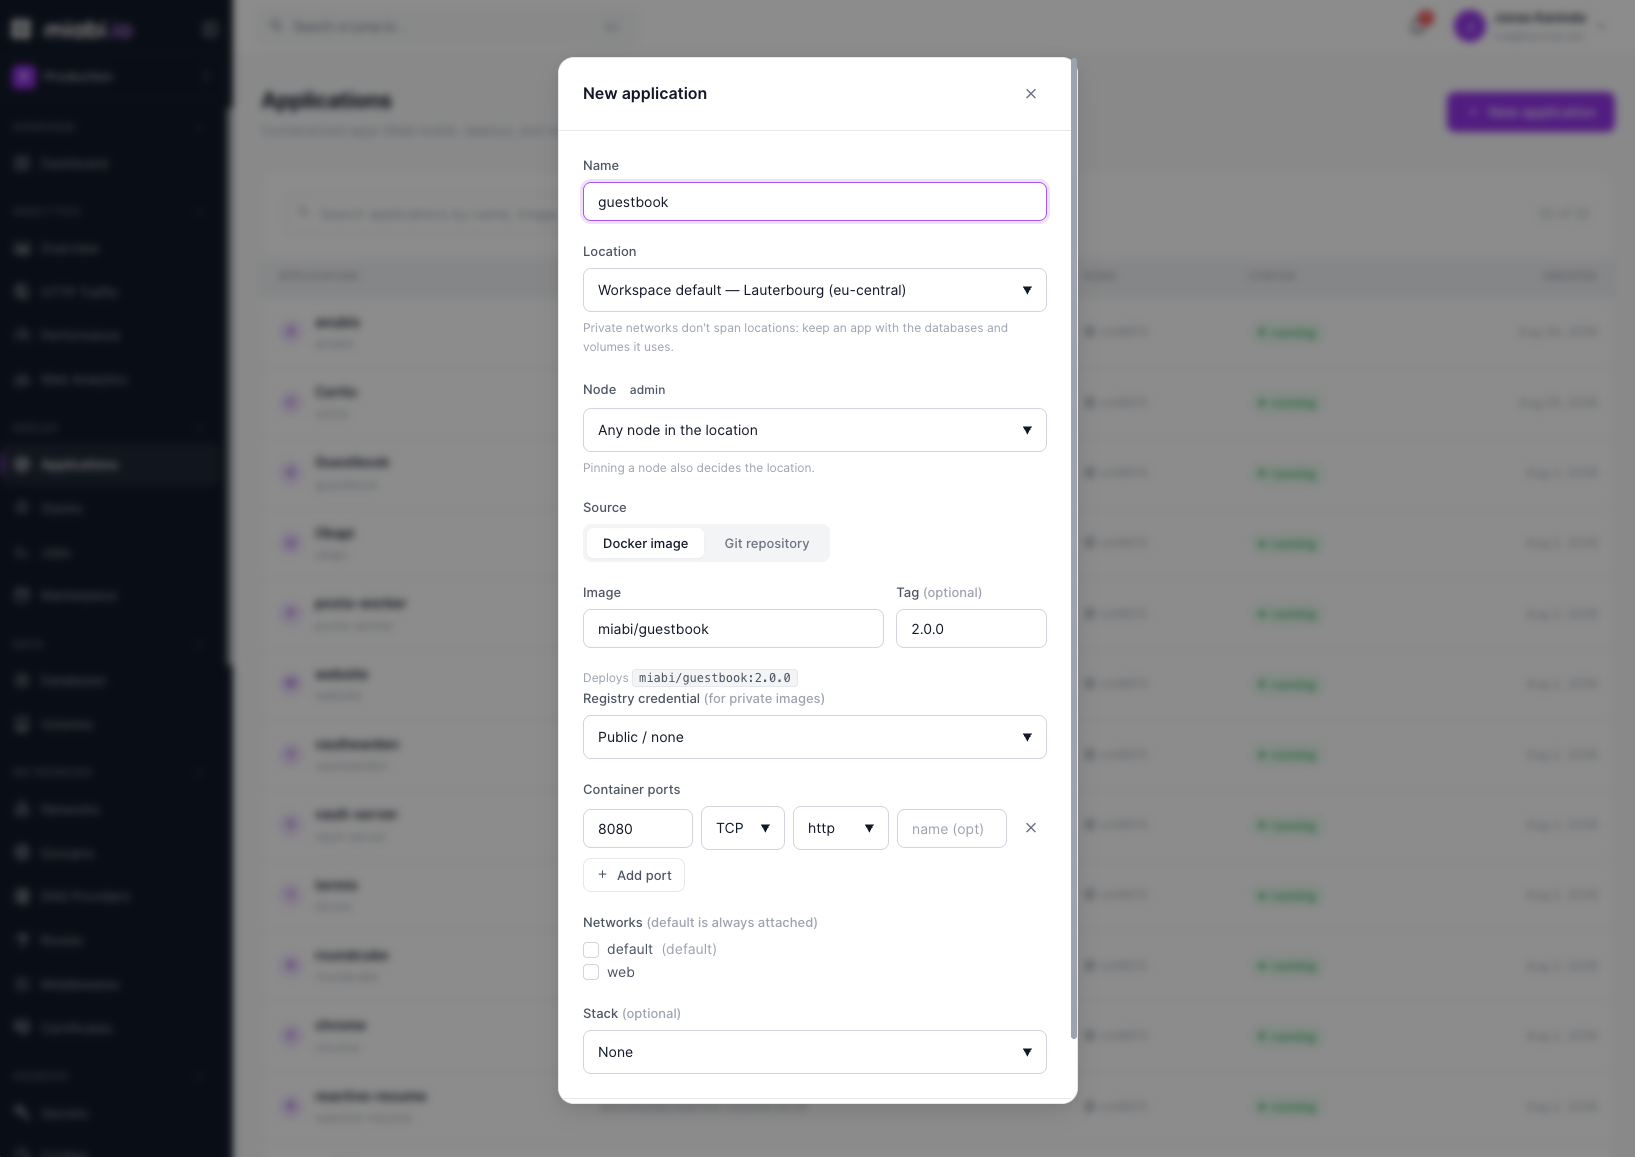
For this walkthrough, pick a Docker image such as nginx:latest — it requires no build and
deploys instantly.
4. Configure and deploy
Set any environment variables and resource limits you need, then click Deploy. Miabi pulls the image, creates the container, and records a release.
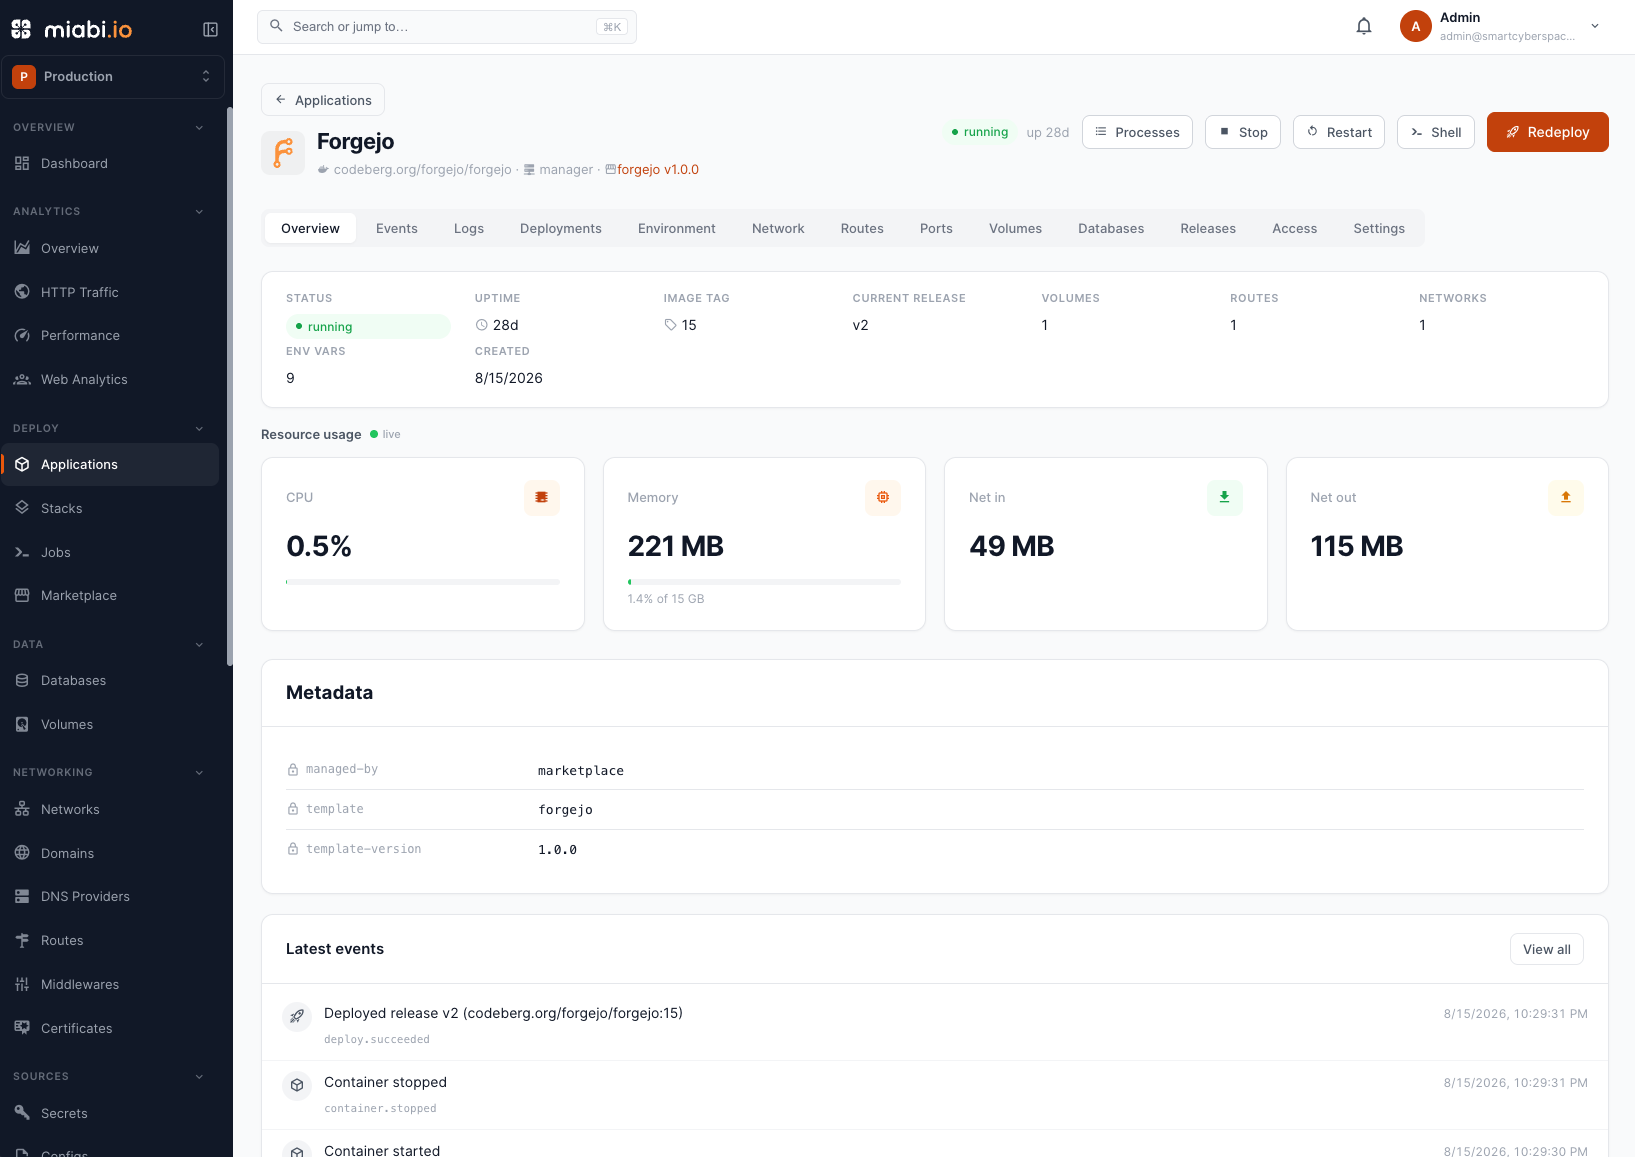
Watch progress in the application timeline and live logs.
5. Connect a domain and get SSL
Add your domain (for example example.com) under Networking → Domains and complete
DNS verification. Then open the app's Routes tab, create a route for
app.example.com on the app's container port, and Miabi routes traffic through Goma Gateway and
issues an SSL certificate automatically via Let's Encrypt. For a generated URL without your own
domain, use Network → External access — see Exposing an application.
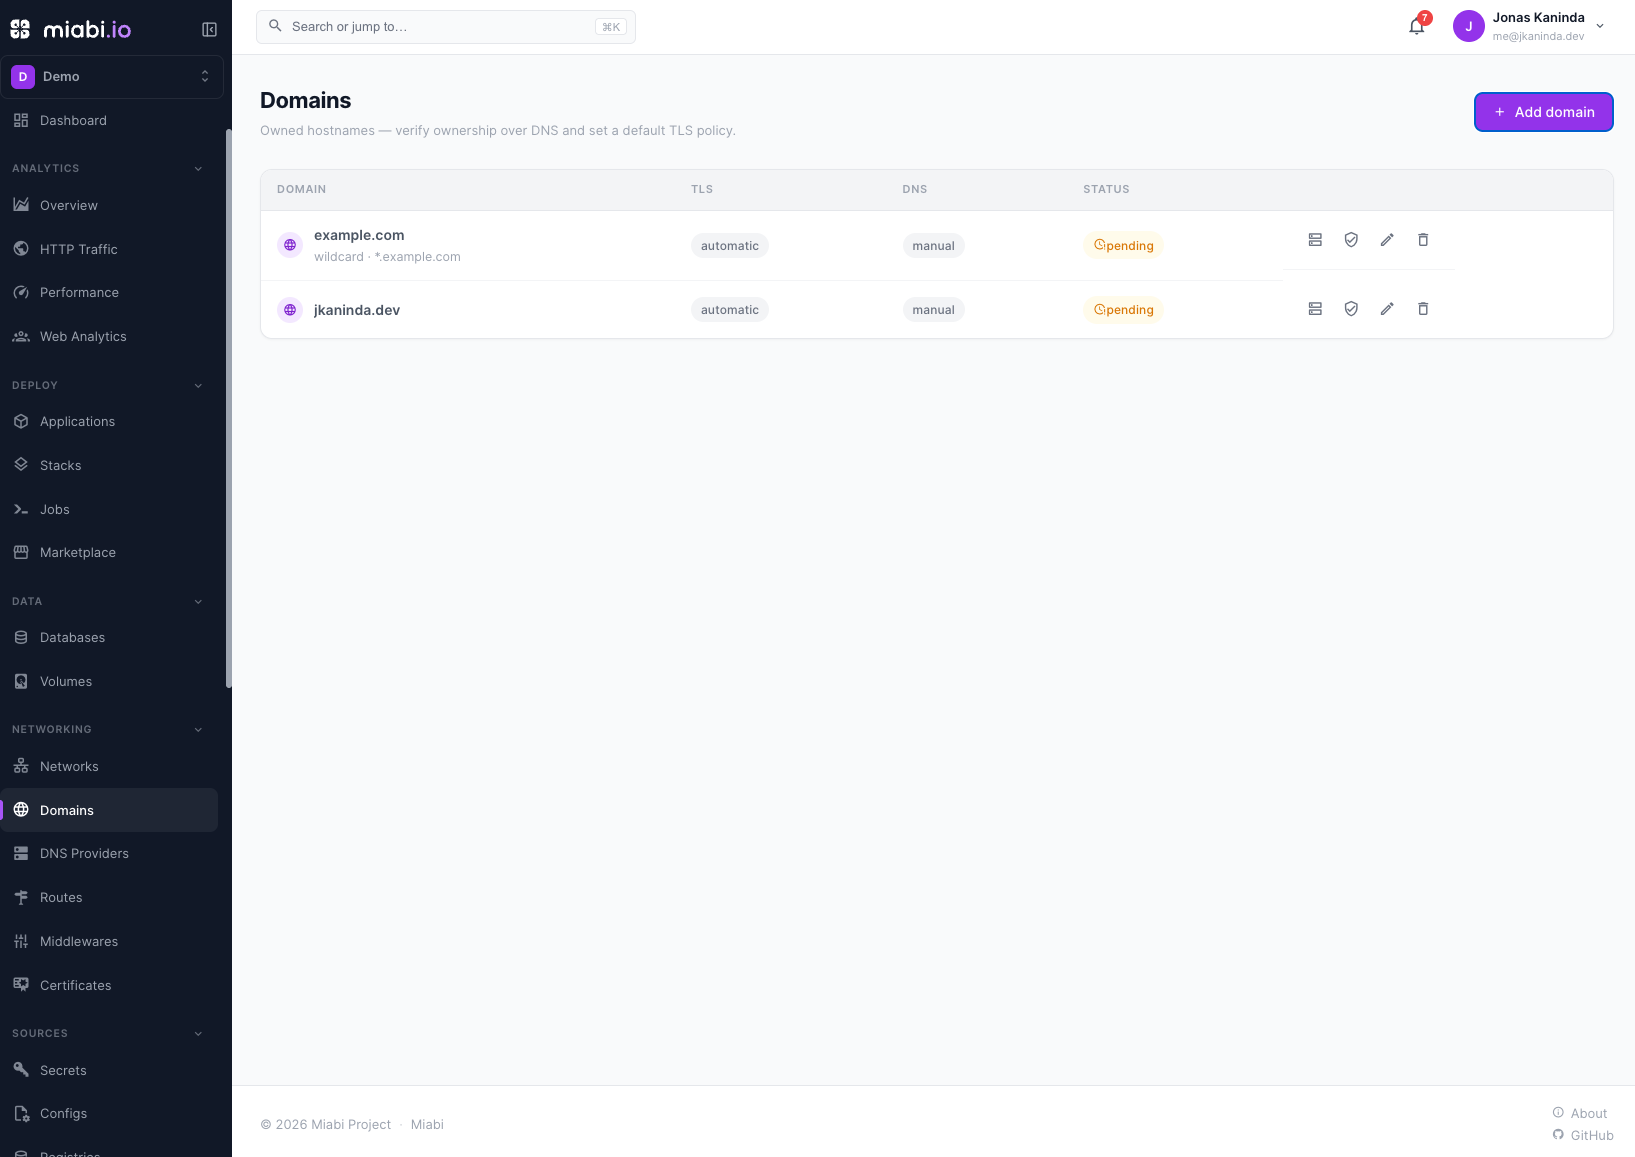
Within a moment your app is reachable at https://app.example.com with a valid certificate.
6. Add a database (optional)
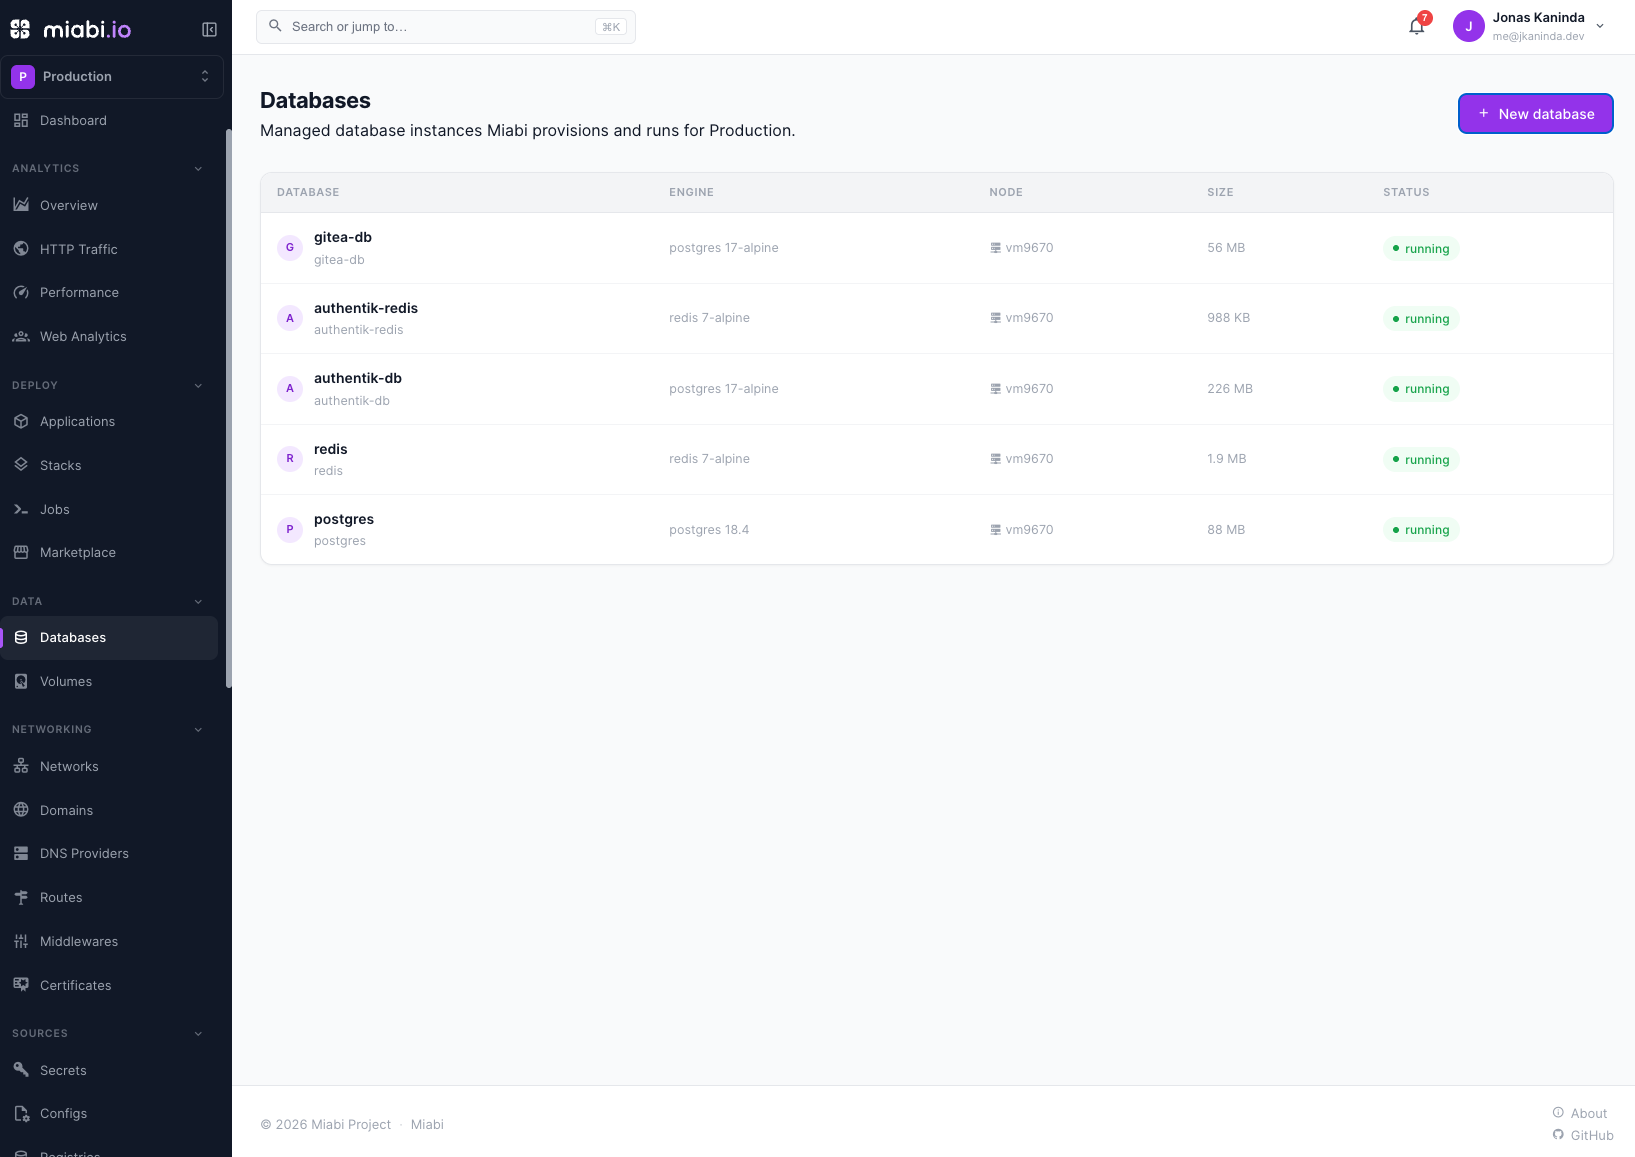
Need persistence? Provision a managed database — PostgreSQL, MySQL, MariaDB, Redis, MongoDB, or libSQL — from the Databases section. Miabi generates credentials and exposes them to your app.
What's next
You now have a deployed app on your own server with automatic SSL. Explore further:
- Releases & rollbacks — ship updates and roll back safely.
- Scaling & resources — set limits and replicas.
- Marketplace — install WordPress, Ghost, Nextcloud, and more.
- Multi-node — add remote Docker hosts.
- CI/CD & pipelines — build from Git and deploy via runners.
- Examples — deployable Node.js, Go, Python, PHP, Laravel, Java and Spring Boot apps with their pipelines and GitOps manifests.
- Container registry — the built-in registry Git builds push to.
- API reference — automate everything via REST.