Adding a Node
Adding a node lets Miabi schedule workloads on a remote Docker host alongside the local engine. The process is short: prepare the remote host, generate a join token in the console, and run the node agent on the remote machine.
Prerequisites
Before you start, make sure the remote host has:
- Docker Engine installed and running (
docker infoshould succeed). - Outbound HTTPS/WebSocket access to your Miabi control plane. The agent dials out, so connecting it needs no inbound ports.
- Public ports
80and443open, if the node will serve apps to the internet. A new node runs its own gateway (see Connectivity). - A user able to access the local Docker socket (typically root or a member of the
dockergroup).
The agent exposes the host's Docker socket to Miabi. Only add hosts you fully control, and treat the join token as a secret.
The add-node flow
- Open Nodes in the console (a platform-admin area — see Platform Administration) and choose Add node.
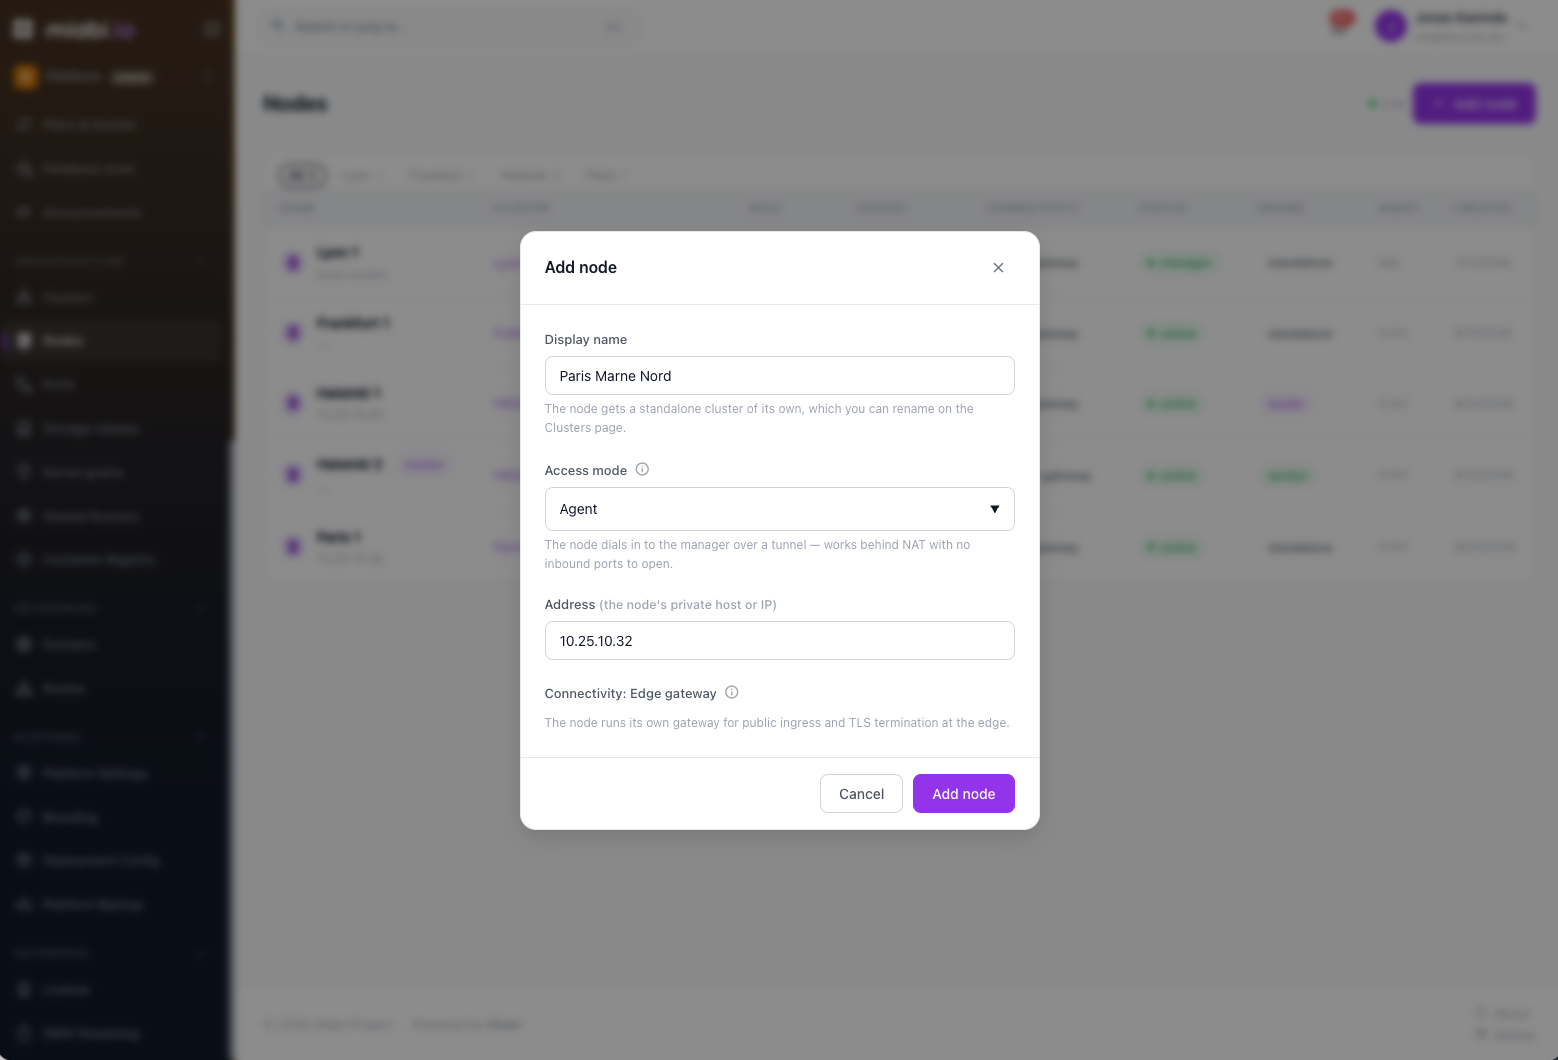
- Give the node a display name, and pick its access mode (below). Optionally enter its private address.
- For the Agent access mode, Miabi generates a join token and shows the exact agent command to run on the remote host. The token is shown once.
- On the remote host, run the agent with that token. It opens an outbound WebSocket tunnel back to the control plane.
- The node appears as online in the list once the tunnel is established and the Docker socket is reachable.
The node gets a standalone cluster of its own, which you can rename on the Clusters page.
Access modes
| Mode | How the control plane reaches Docker | Inbound access to the node |
|---|---|---|
| Agent (default) | The node agent dials in over a tunnel | None — works behind NAT |
| Docker API | The control plane connects to the node's Docker TCP endpoint (tcp://10.0.0.10:2376), optionally with TLS or mTLS | The Docker endpoint must be reachable from the control plane |
Prefer Agent. Use Docker API only on a trusted network, with TLS: anyone who can reach an unprotected Docker endpoint controls the host. The client key is stored encrypted.
Connectivity
Connectivity decides how a node's apps are served:
- Edge gateway — the node runs its own gateway, which publishes ports
80and443and terminates TLS for the routes of apps placed there. Every node you add starts this way. - Cluster gateway — the node runs no gateway of its own; its swarm cluster's gateway serves its apps over the overlay. Only swarm members can use it: switch a node to it with Change connectivity on its page once it has joined a swarm.
Earlier versions offered a port-forward mode, where the central gateway reached apps through published host ports. It is gone. On upgrade, the control-plane node and swarm members move to the cluster gateway, and any other port-forward node becomes an edge gateway. Its cluster page then asks you to confirm that (Keep its own gateway) or to join the node to a swarm cluster instead.
If a gateway already runs on the node — one you installed yourself — use Import existing on the node's gateway panel to adopt it instead of deploying a second one. Miabi then leaves an imported gateway's container alone: it never recreates it, including when the agent reconnects. The platform's own gateway on the control-plane host is adopted automatically.
About the join token
The join token is the agent's credential: the agent presents it every time it connects, not just the first time. Miabi stores only its hash, so the token is shown once, when you add the node. It does not expire.
If you lose it, or it may have leaked, choose Regenerate token on the node's page. That invalidates the old token, so update the agent on the host with the new one. Join command on the same page shows the agent command again, with a placeholder for the token.
Store the agent install command in your provisioning tooling (cloud-init, Ansible, etc.) so new hosts join automatically. Each node has its own token.
After joining
Once connected, the node is an eligible scheduling target. You can:
- Put it in a node pool, or pin specific workloads to it.
- Run housekeeping to reconcile state and reclaim disk.
- Import existing containers already running on that host.
- Promote the fleet to cluster mode when you need cross-node orchestration.